Headlines
How to cut and heat apply PS Adhesive
13 April 2017
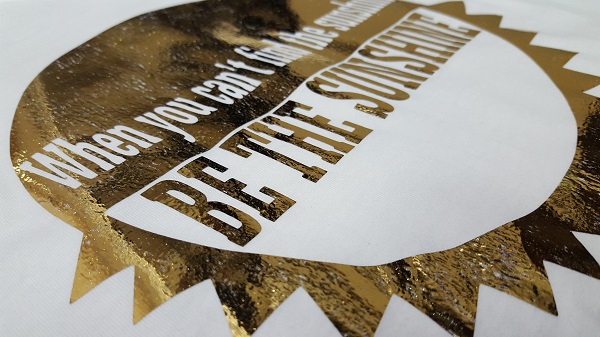
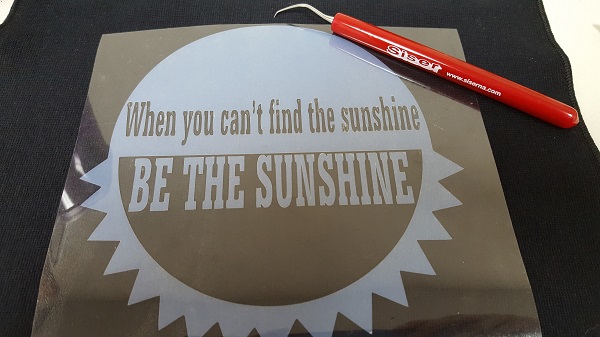
If you look for the sunshine through the clouds you’ll likely find the bright side! If you apply PS Adhesive to your project, you may find it too! The cloudy appearance of PS Adhesive turns clear when applied and becomes bright like the sun when you add a screen printing foil on top. Here’s how you can make shining shirts with PS Adhesive:
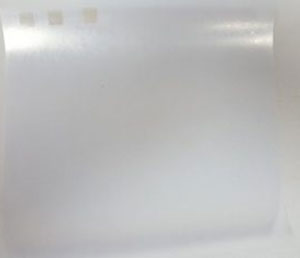
Just like the materials in the Siser Family, PS Adhesive has a carrier side and a material side. The carrier side is noticeably smoother and shinier than the material side. Now you may notice the material side looks like it doesn’t have any, well, material. That’s because it’s simply a layer of mostly transparent glue. PS Adhesive can not only be used with screen printing foils, it also works with fabrics and other materials that lend themselves to adhesion.
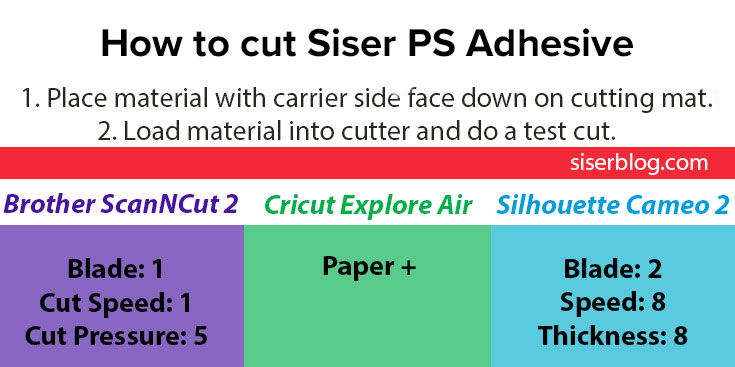
PS Adhesive can be cut on any vinyl cutter and requires the typical steps before cutting Siser heat transfer vinyl. Make sure to mirror your design and place the carrier side face down on the cutting mat. Then make sure you pin the image below so you can always find your cut settings! I always recommend a test cut before cutting a full design. How old your blade is will effect your blade and cut settings, so make sure your blade produces a good cut with our suggested settings or make some adjustments.

If you’re using a large format vinyl cutter, like the Roland GX24, you’re cut settings will be GF: 80-90, Offset: .250, CM/S: 30 with a 45° blade. If you’re using a 60° blade, the settings are the same except the offset is changed to 3.50.
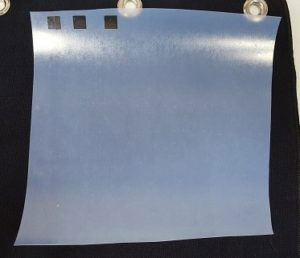
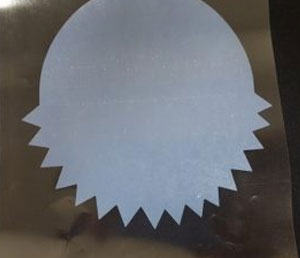
When it comes to weeding PS Adhesive you may drive yourself crazy trying to weed it on top of a light colored surface. Instead, weed on top of a dark table or place a dark piece of paper or fabric behind the material so you can identify the cut lines.
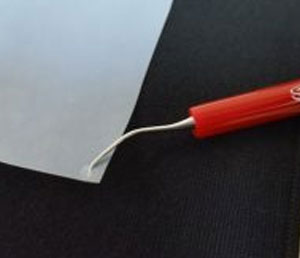
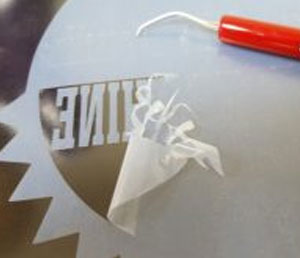
Start by weeding the outside of the material by hooking your Siser Weeder into a corner and separating the excess material from the carrier. We wouldn’t call it PS Adhesive for nothing. This material weeds simply like any other Siser material!
Once you can see the design of your outline, weed out any cavities in the design.
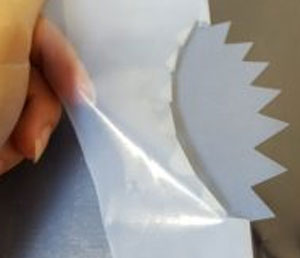
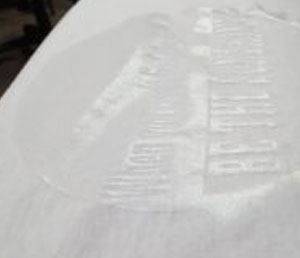
When I think I’ve got all my excess adhesive removed I like to flip my design over and inspect it from the carrier side to make sure I really got it all.
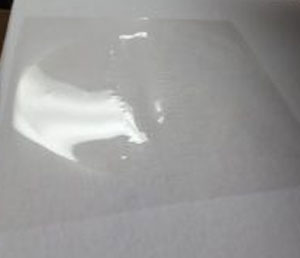
When your certain it’s weeded perfectly you can prepare to heat apply! Heat Press Settings for PS Adhesive are: Temperature: 275°F/135°C, Pressure: Medium. Start by preheating your garment for 2-3 seconds so you have a wrinkle and moisture free area to apply to. Place the adhesive with the carrier side face up, cover with a Siser Non Stick sheet or Silicon paper, and press for 5 seconds. Leave the garment on the heat press and peel the carrier hot. You’ll notice the shiny, clear adhesive is left behind.
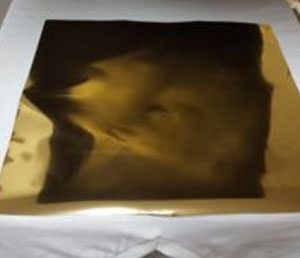
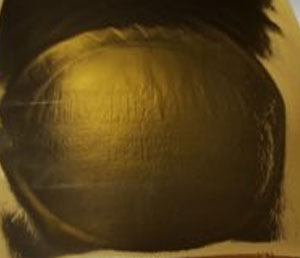
Now you’ll add the top layer material. In this case it’s a screen printing foil. Cut a piece large enough to cover your design. Place the piece on top of the PS Adhesive with the colour side up. Recover with your heat transfer cover sheet and press for 10 seconds. Notice how the adhesive has gripped the foil.
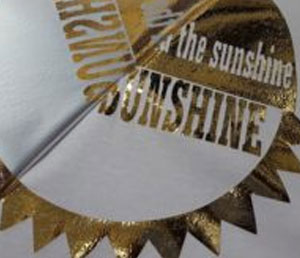
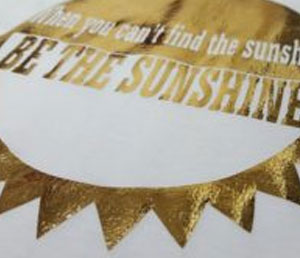
Before peeling off the foil, remove the garment from the heat press and wait until the foil is cool to the touch. Your patience will be rewarded with a shiny, super cool garment!
You may notice small gaps in the foil on your garment, that’s because screen printing foils don’t actually offer full coverage. It’s normal for small pieces to get left behind on the foil sheet. This gives the foil a bit of a distressed look that’s very popular. If you want an even more distressed look, crumple the foil before heat application.
PS Adhesive can be cut on any vinyl cutter and requires the typical steps before cutting Siser heat transfer vinyl. Make sure to mirror your design and place the carrier side face down on the cutting mat. Then make sure you pin the image below so you can always find your cut settings! I always recommend a test cut before cutting a full design. How old your blade is will effect your blade and cut settings, so make sure your blade produces a good cut with our suggested settings or make some adjustments.
If you’re using a large format vinyl cutter, like the Roland GX24, you’re cut settings will be GF: 80-90, Offset: .250, CM/S: 30 with a 45° blade. If you’re using a 60° blade, the settings are the same except the offset is changed to 3.50.
When it comes to weeding PS Adhesive you may drive yourself crazy trying to weed it on top of a light colored surface. Instead, weed on top of a dark table or place a dark piece of paper or fabric behind the material so you can identify the cut lines.
Start by weeding the outside of the material by hooking your Siser Weeder into a corner and separating the excess material from the carrier. We wouldn’t call it PS Adhesive for nothing. This material weeds simply like any other Siser material!
Once you can see the design of your outline, weed out any cavities in the design.
When I think I’ve got all my excess adhesive removed I like to flip my design over and inspect it from the carrier side to make sure I really got it all.
When your certain it’s weeded perfectly you can prepare to heat apply! Heat Press Settings for PS Adhesive are: Temperature: 275°F/135°C, Pressure: Medium. Start by preheating your garment for 2-3 seconds so you have a wrinkle and moisture free area to apply to. Place the adhesive with the carrier side face up, cover with a Siser Non Stick sheet or Silicon paper, and press for 5 seconds. Leave the garment on the heat press and peel the carrier hot. You’ll notice the shiny, clear adhesive is left behind.
Now you’ll add the top layer material. In this case it’s a screen printing foil. Cut a piece large enough to cover your design. Place the piece on top of the PS Adhesive with the colour side up. Recover with your heat transfer cover sheet and press for 10 seconds. Notice how the adhesive has gripped the foil.
Before peeling off the foil, remove the garment from the heat press and wait until the foil is cool to the touch. Your patience will be rewarded with a shiny, super cool garment!
You may notice small gaps in the foil on your garment, that’s because screen printing foils don’t actually offer full coverage. It’s normal for small pieces to get left behind on the foil sheet. This gives the foil a bit of a distressed look that’s very popular. If you want an even more distressed look, crumple the foil before heat application.